Browsing Tag

makeover

Blog, new house

Evangeline’s Room Makeover (Before+After)


If you happened to stop by my blog anytime overnight, you may have seen these pictures already. Long story short, Don was working on some of the behind-the-scenes stuff and accidentally published the post before I had time to actually write anything.

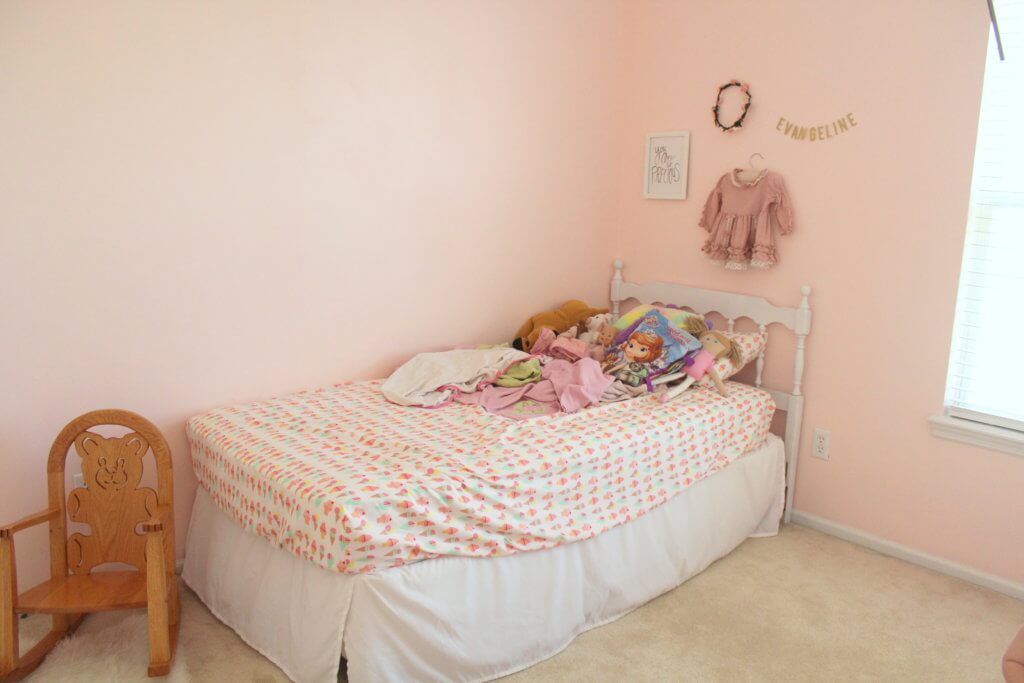
Anyway, I’m finally getting the chance to share the rest of Evangeline’s room! I thought I would start out with the picture that we saw in the listing, before we bought the house. The room is not huge and the dark purple made it feel even smaller. The second picture is the “in between” sort of phase with the sloppy bed and broken curtain rod and the last is how it looks now.
picture of old room from realtor website

evangelines-room-before

totally different looking girls room now

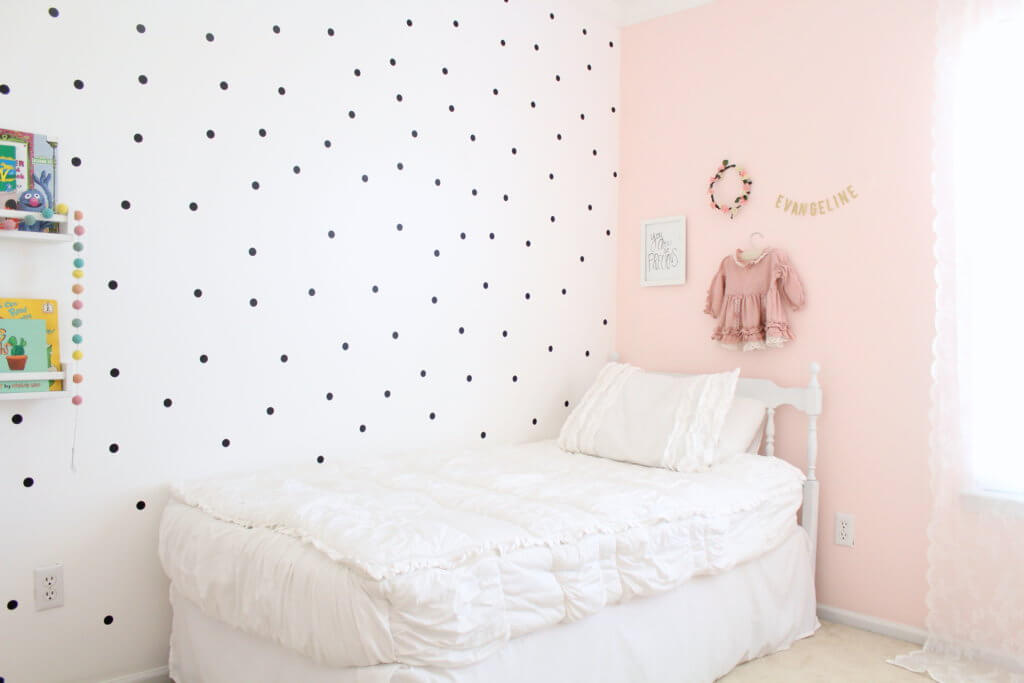
Her room was one of the first rooms I wanted to paint because the purple was way too dark and just not my style. My original plan was to paint the walls white and have black polka dots on one wall. My heart was set on it. But somehow that sweet little 3 year old voice, asking for a pink room, talked me into changing my mind. I never in a million years would have thought I would do a pink room but I had seen some pink walls on pinterest and instagram that I loved, so I thought I could go with it. I picked out (what I thought was) a pale pink and started painting. I quickly realized it was much more saturated than I pictured so I kept adding tons and tons of white paint. It still ended up pinker than I preferred but I was tired of mixing paints.

So we had a pink room. And Evangeline loved it! But I didn’t. It felt too overwhelming to have 4 pink walls in one small area. I had a hard time decorating because everything I put in there just seemed like “too much.”
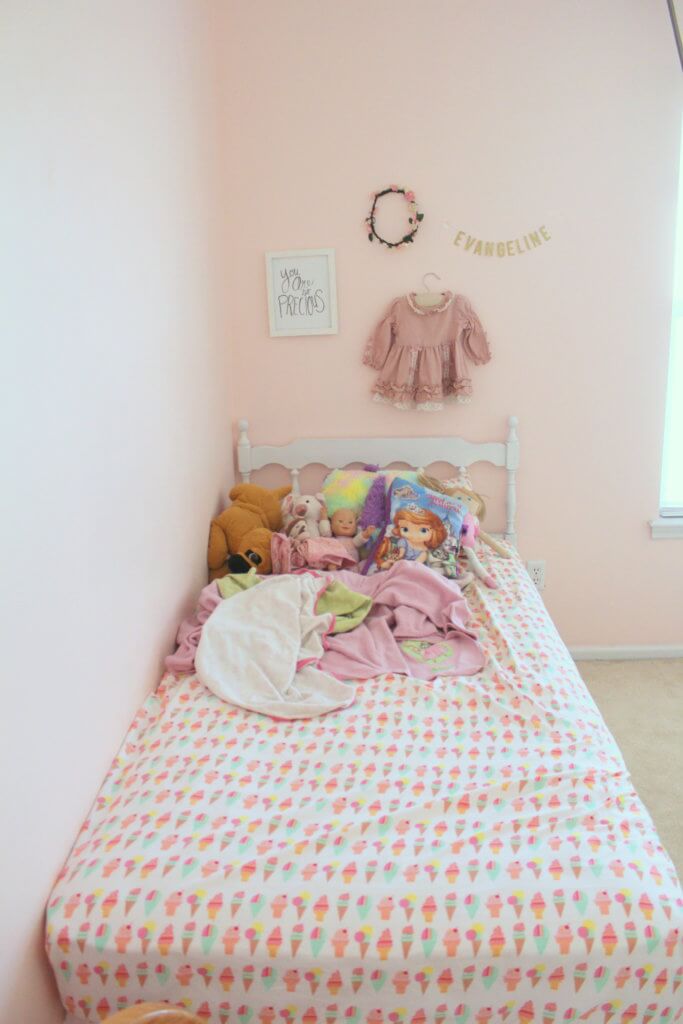
girly room with pink walls


now with one white wall and black polka dots

So when Don had his week off back in August, I decided to do what I had been dying to do for months–do my white and black polka dotted wall. Painting one wall was much easier a task than redoing the whole room. So for now, she still has 3 pink walls. But the one white wall makes such a huge difference.

I ordered these polka dot wall stickers (the 1″ size, 180 count sheet.) They were the best price I found. They easily peeled off the sheet and stuck to the wall and I have had no issues with them peeling. I will definitely order from them again in the future if I need more. I liked the more random placement of the dots and seriously finished this wall in like 10-15 minutes. In case you missed the post about her bedding, I got the Chic White set from Beddy’s. The curtain is one of Ikea’s lace curtains.


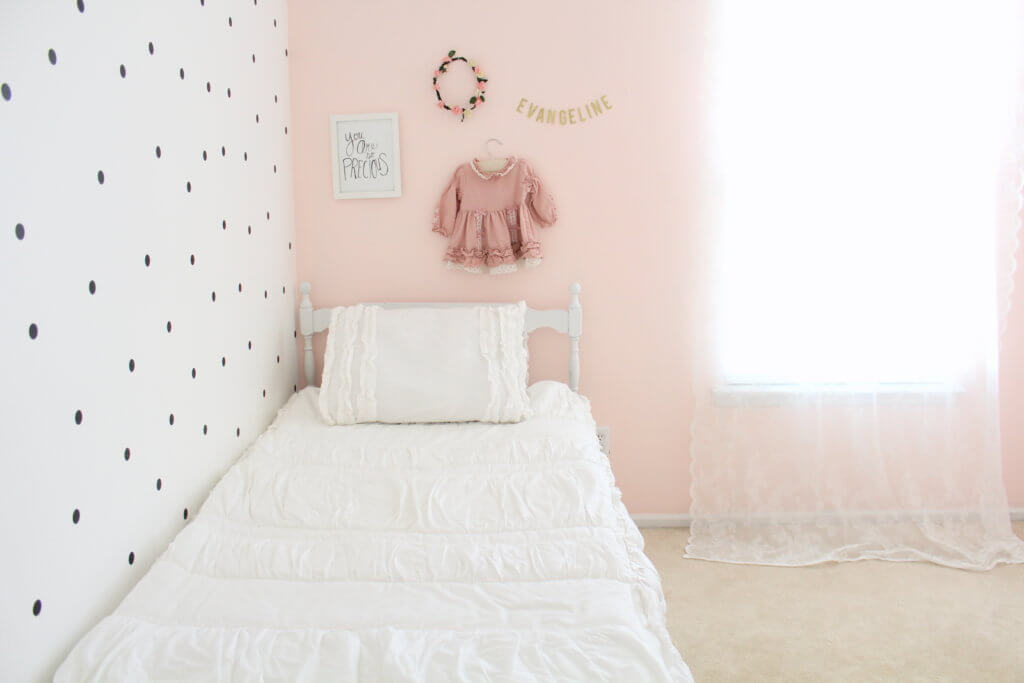
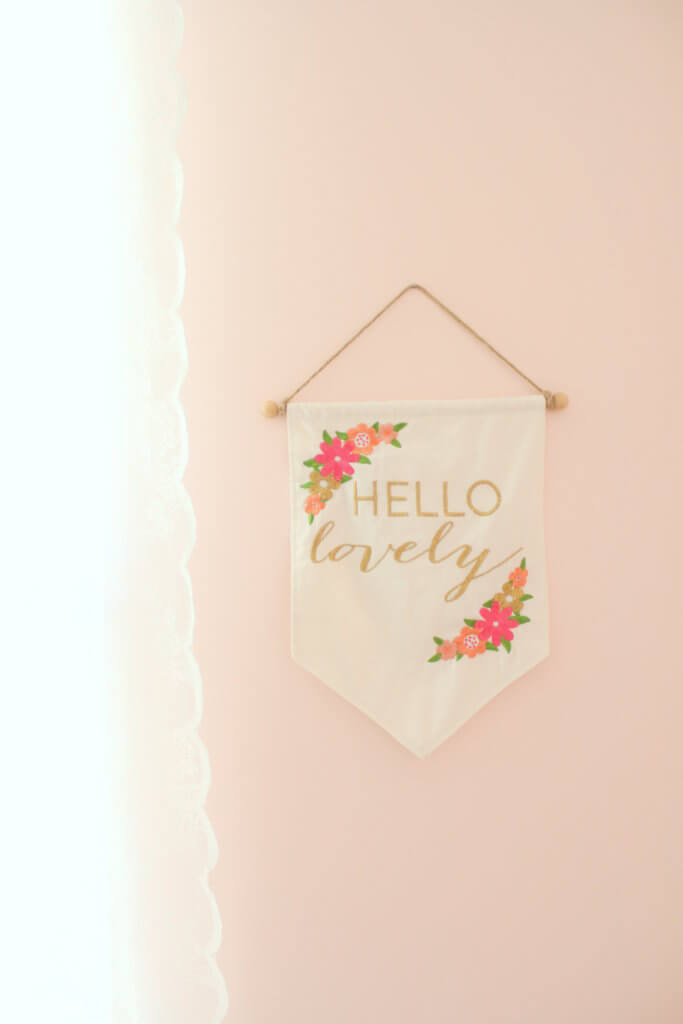
A little gallery wall with this adorable print from Redwood Paper Co. I made the flower crown (that is years old now and has seen better days) and the name banner (the letters were from the dollar spot at target!) The dress is just one of my favorites of hers from when she was a baby and I just couldn’t stand to pack in away.
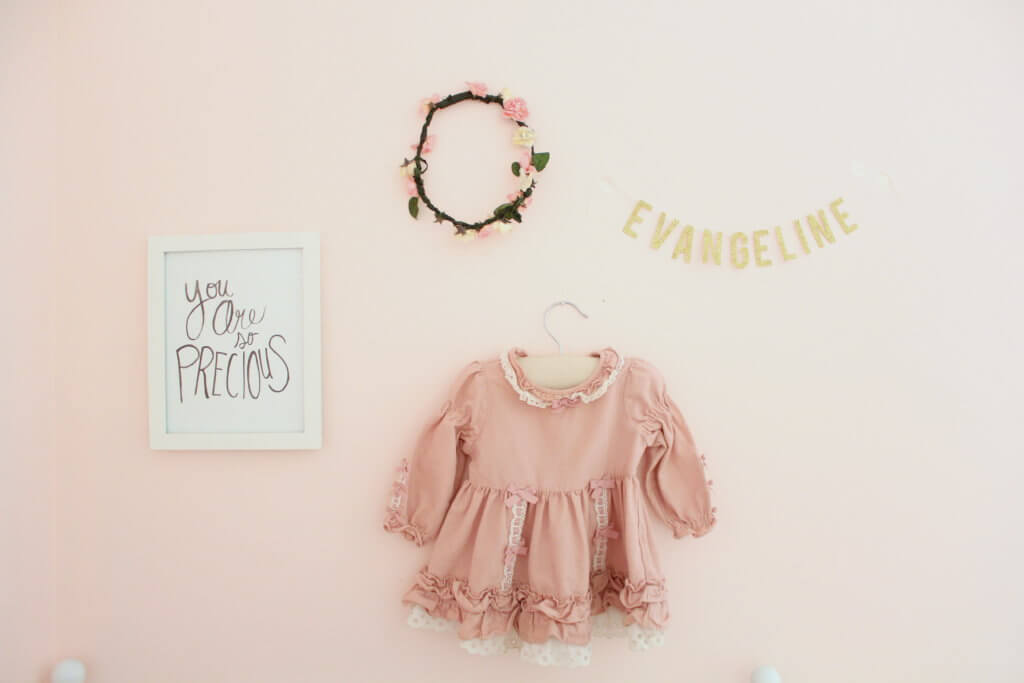
name banner flower crown vintage dress and picture hanging on the wall
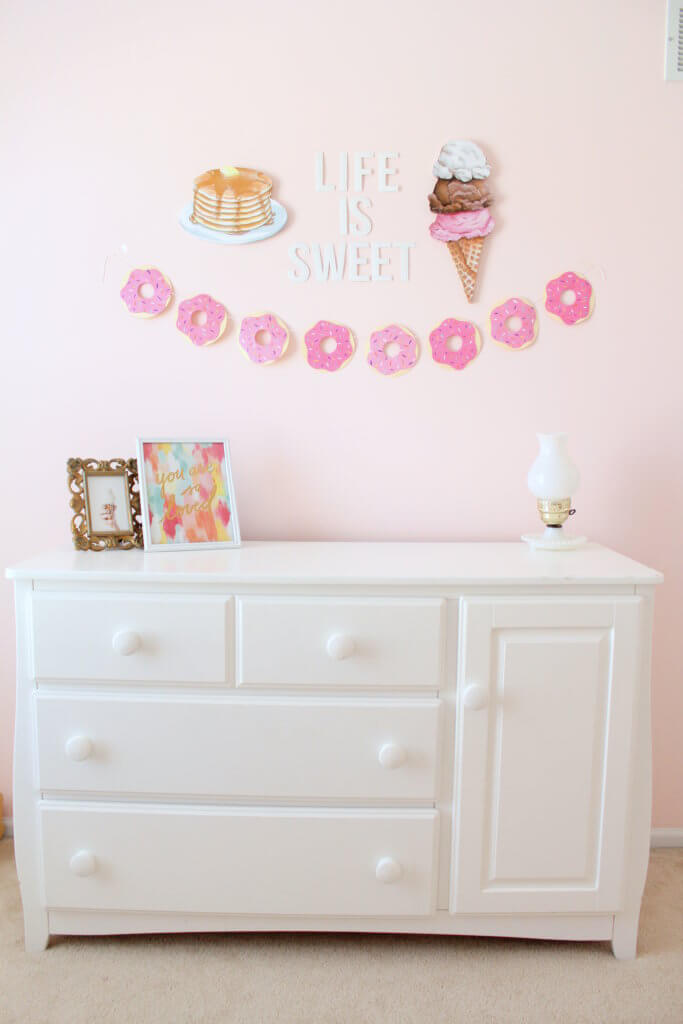
pancakes and ice cream wall art

Another little “sweet” gallery wall. I made the little donut banner with some file folders and foam sheets from the dollar store (and just used some acrylic paint I had on hand to do the sprinkles.) But the best part has to be the pancake and ice cream cone wooden diecuts from Everyday is a Holiday. I want so many things from their shop!
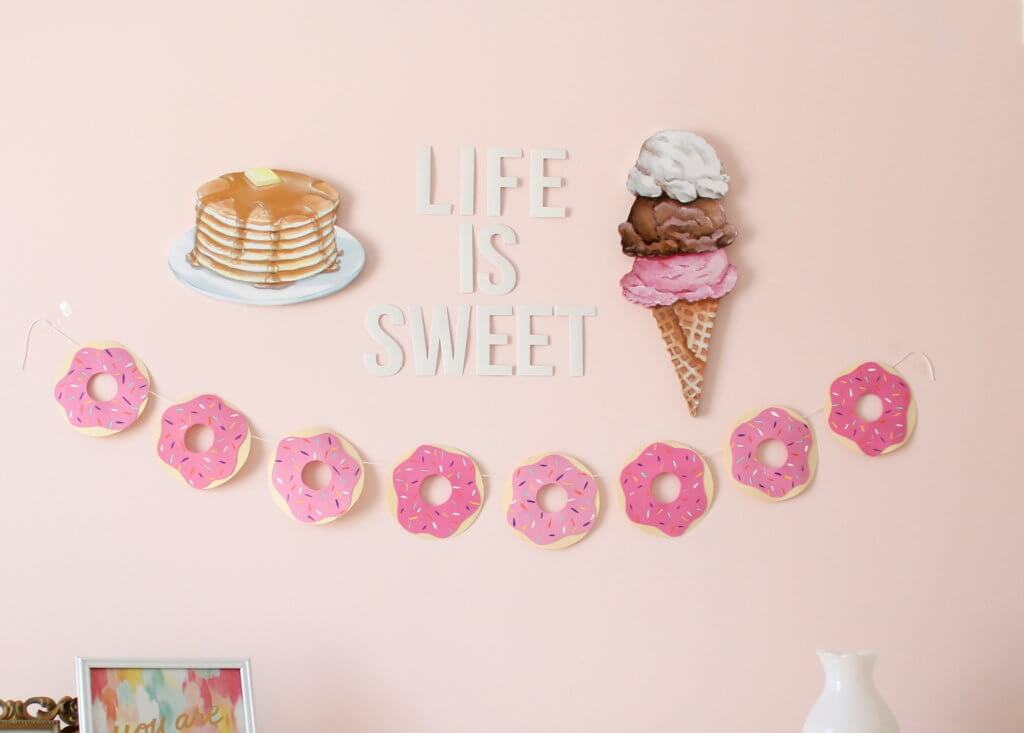
evangelines-room-after-006

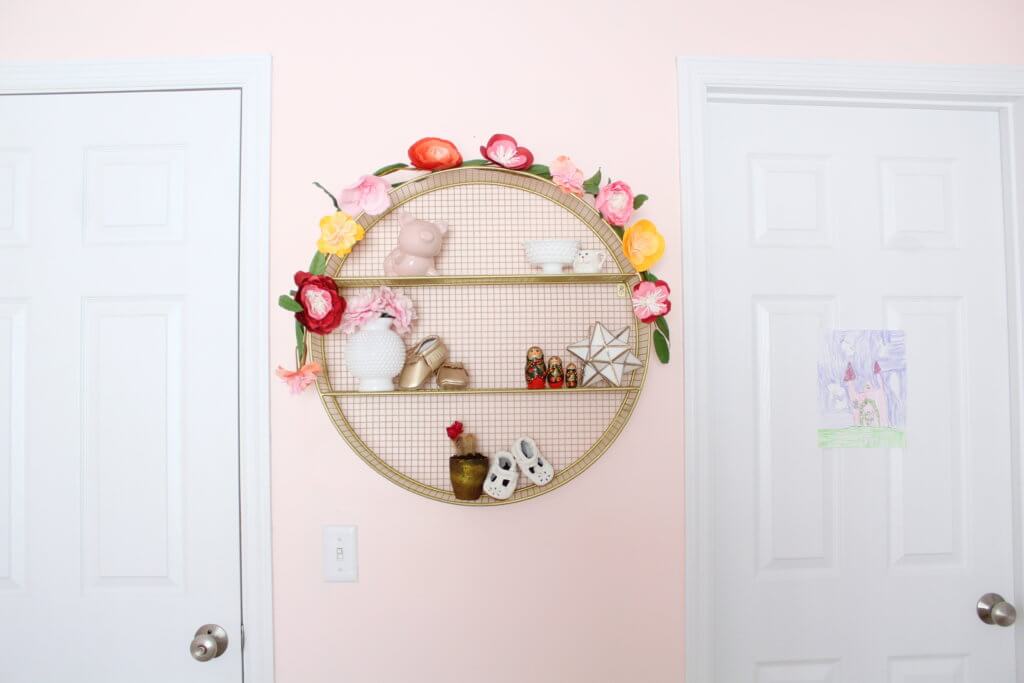
I love this shelf but I still haven’t found a way to style it. Someone please come style this shelf for me because my brain can’t handle it right now!

evangelines-room-after-003

evangelines-room-after-001

And my favorite part of the room transformation…
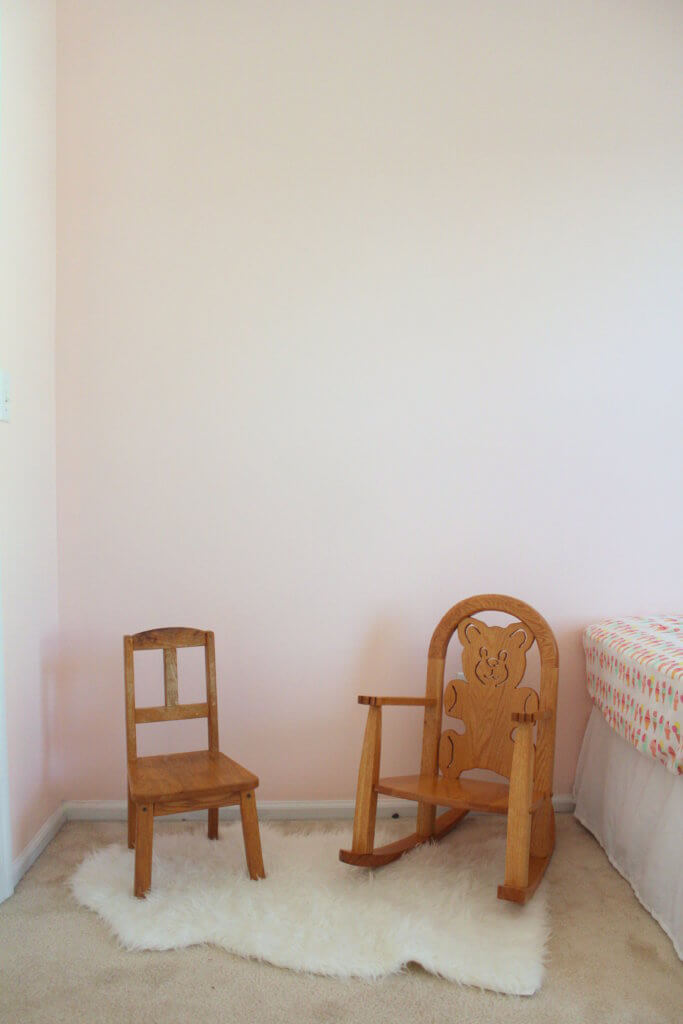
evangelines-room-before-001

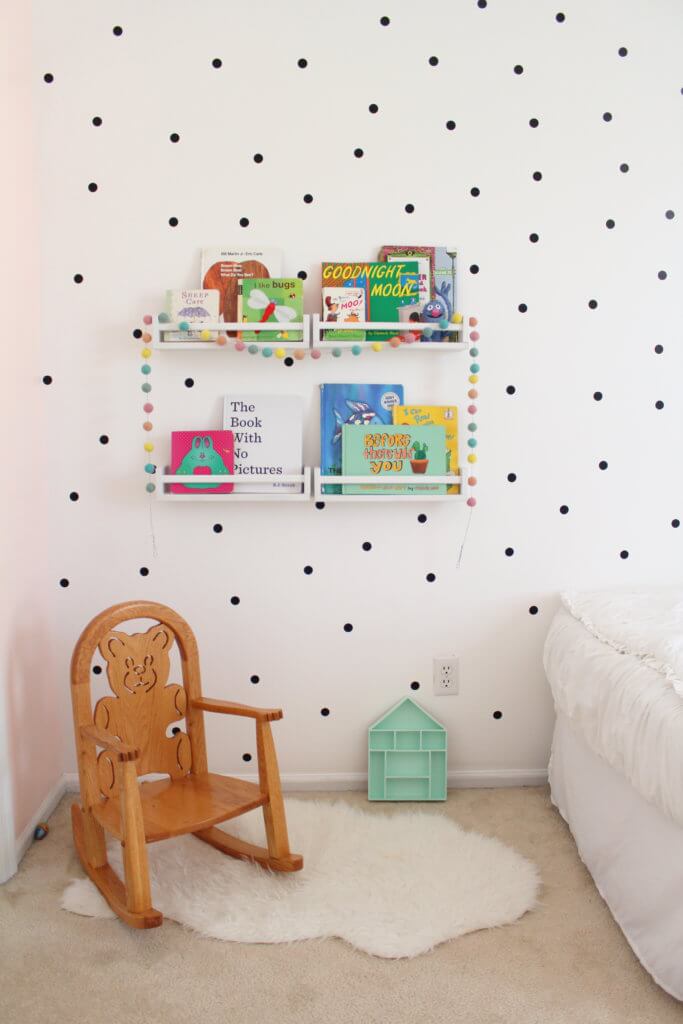
little white bookshelves on wall with children's books

…That apparently had a little nesting doll still hiding on the floor when I took this picture (hashtag: real life.) We did another set of the Ikea spice rack bookshelves in here. The garland is from Hooray Everyday. I love shopping small–not only because of the uniqueness and quality of the products, but all these small shop owners have the best, personable customer service. This nook is easily one of my favorite parts of the house right now. We like to hang out in here and read books during the day.

That’s all I have for now! Still things to add–I’m thinking of hanging a few things on the polka dot wall, above her bed. But I’m having such a hard time committing to anything. But this is the way it’ll stay until well after baby girl is here!

Blog, new house

Boys’ room Makeover (Before + After)


the boys bedroom

Last week I shared Part 1 of the kids’ room makeovers where I talked about their amazing bedding. Now I’m sharing the other parts of their rooms. Part of me was hesitant to share because I feel like their rooms are still missing elements. But their rooms have come a long way so I thought I would share what we have now and I can update down the road. (I’m also admittedly not a great interior photographer–the lighting is so off! I just thought I would throw that out there since I know you’re already thinking it 😉 )

I’ll start with the boys’ room

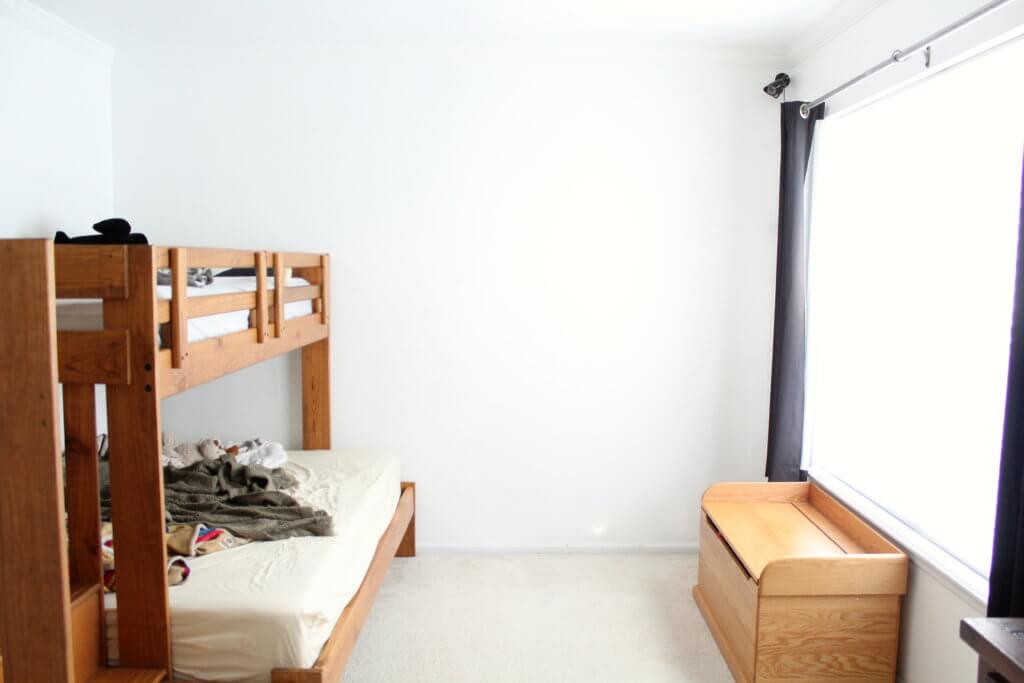
(before)plain and boring boys room

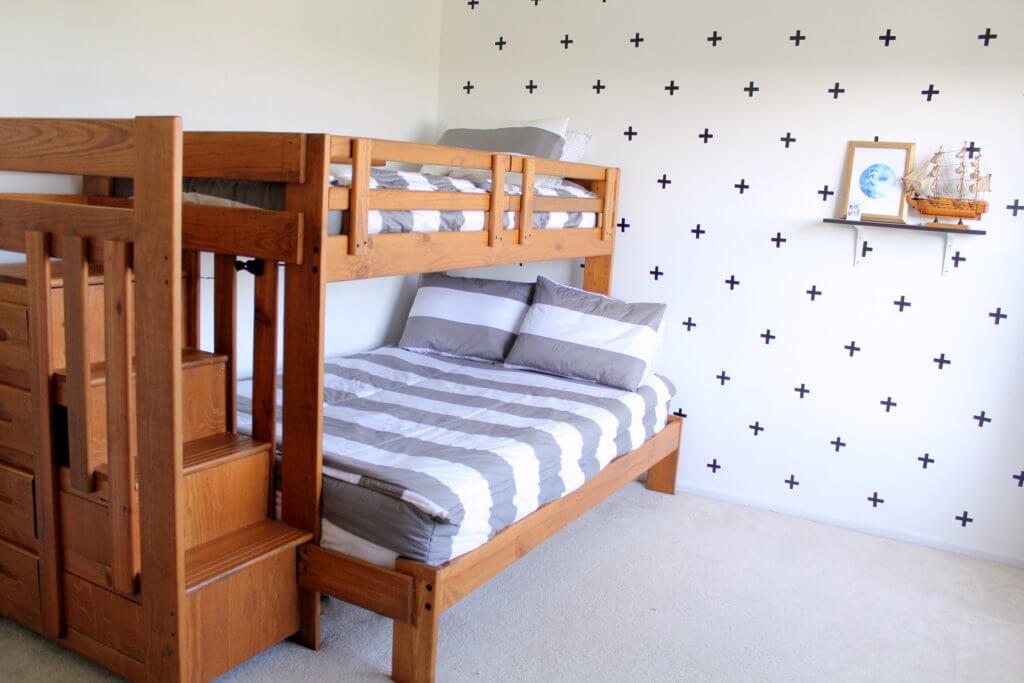
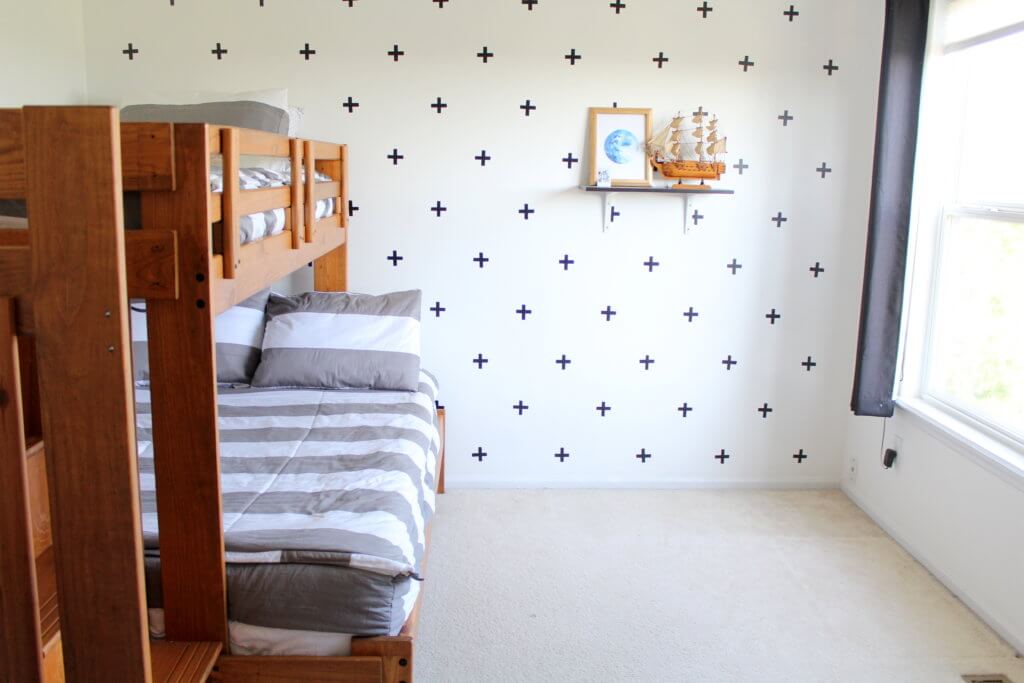
This room was already white when we moved in. I knew that I wanted to keep the walls white, but I wanted to add some modern elements to the room. The boys and I tried to come to an agreement on a design for a statement wall but ultimately, I went with my original idea, swiss crosses made out of washi tape. (They had some ambitious ideas–like a hand painted solar system, hence the final decision.) I bought a roll of black washi tape from Target for $3 and it ALMOST filled the entire wall. I ended up having to go back to buy another roll. But you really can’t beat that price for a fun little update.

(after)the brothers room now with washi tape crosses and shelving

I thought about putting together a little DIY post for the decals. But I quickly realized that it didn’t really require too many instructions so I nixed that plan. But if you are interested in taking on this project, I just cut each piece into 2 1/2 inch strips and then attempted to eyeball their placement on the wall. When I realized that wasn’t the best plan, I had Don figure out the math to have them all evenly spaced. Even so, they are still lopsided and imperfect but I don’t think it’s noticeable when you walk in their room. We also moved their toy box to their closet to give more floor space. And then we promptly filled that space with Desmond’s playpen haha.

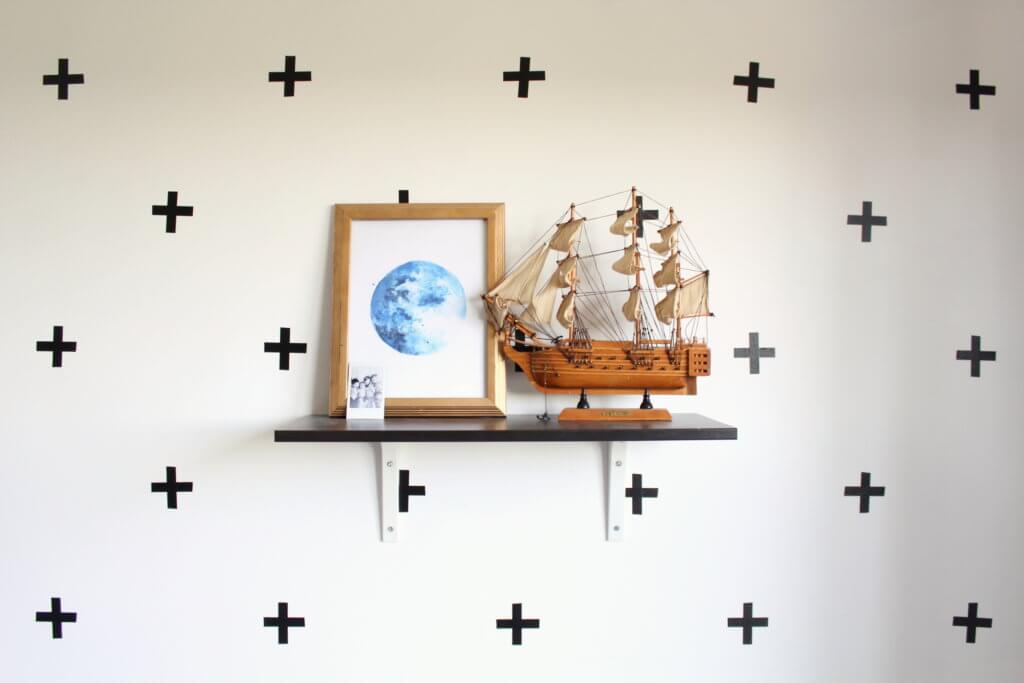
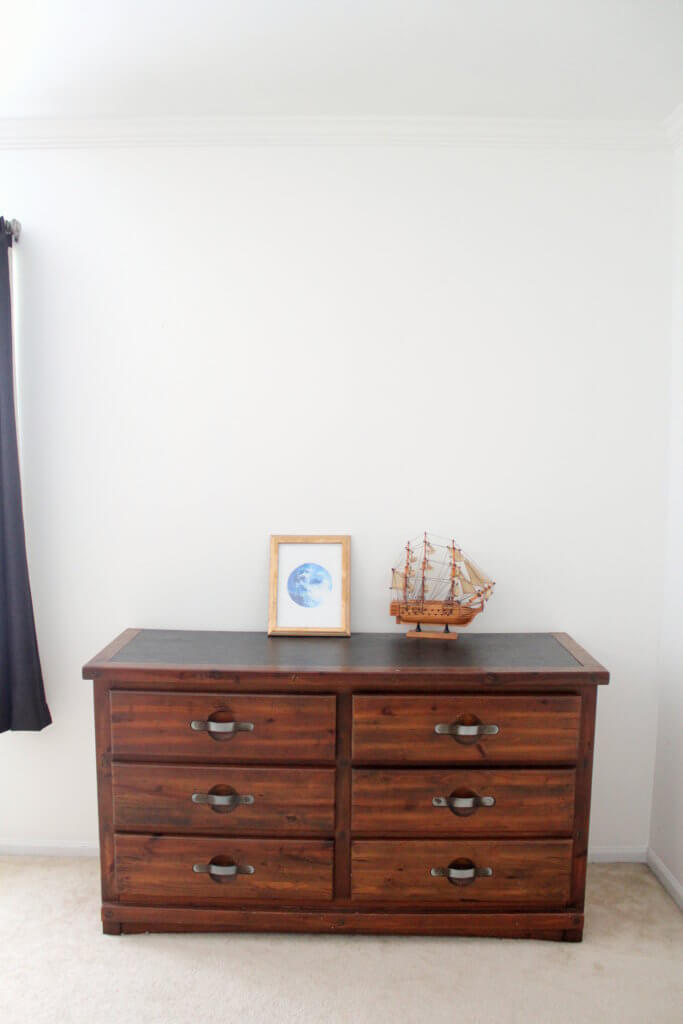
This moon print is from Redwood Paper Co. The shelf is from Ikea. The amazing ship was thrifted!

toy sail boat and moon picture on shelf with washi tape plus signs on wall

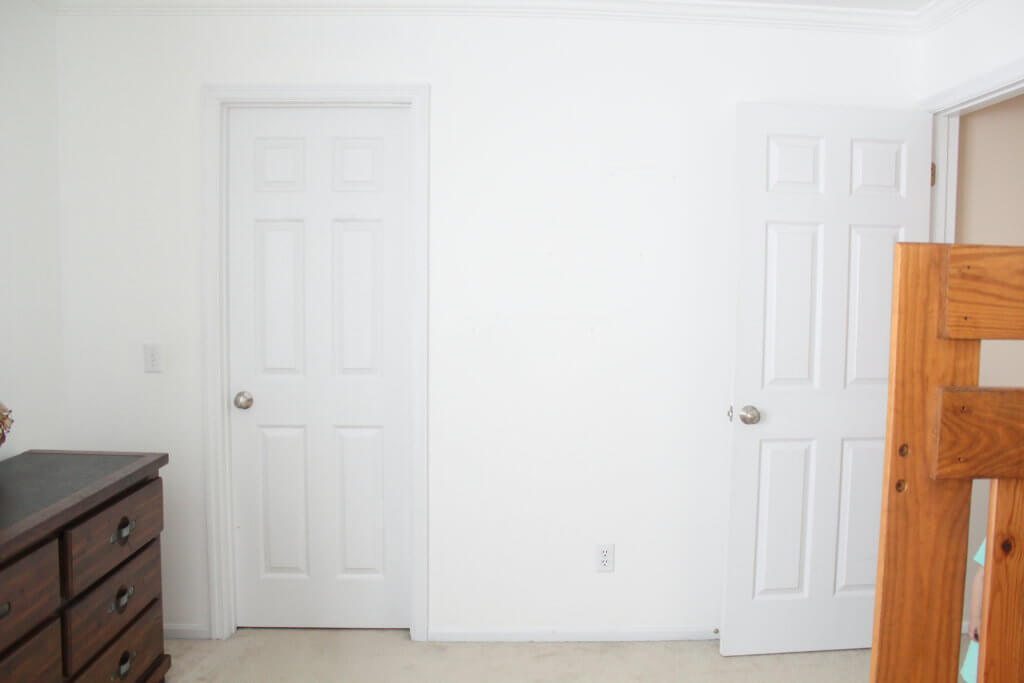
This is the other side of the room. The door on the left is their closet and the door to the right leads out to the hallway.

(before)empty white walls

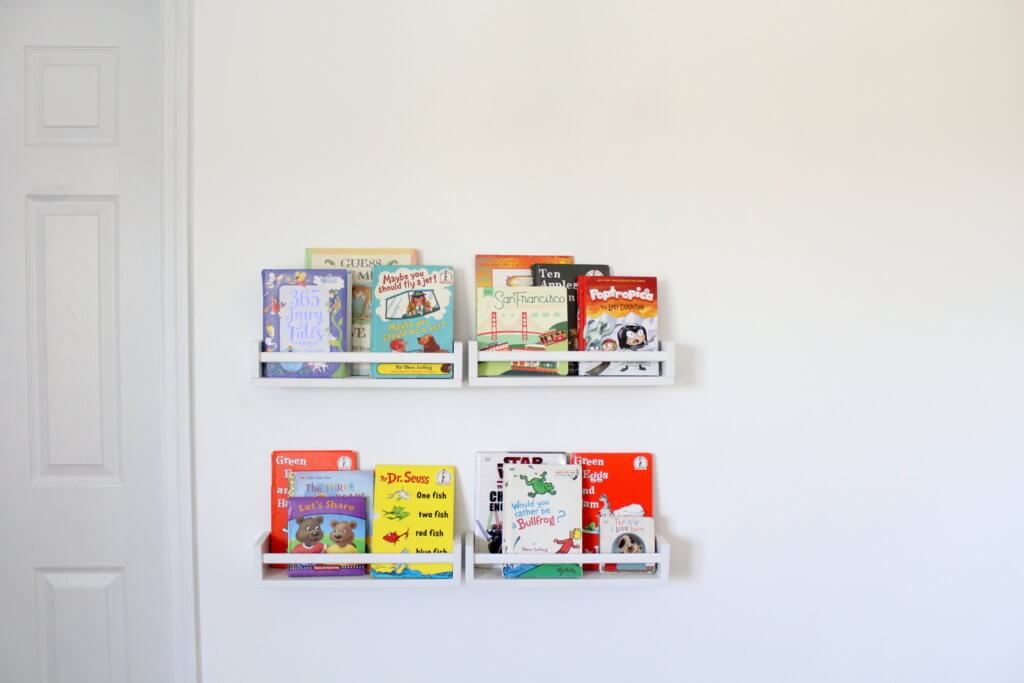
We added these spice racks from Ikea as bookshelves. The books were being stored in a big tote in their closet. Once we installed these shelves, they started pulling books out more often. Now they just keep rotating what books go up on their shelves.

(after)
4 little white bookshelves on the wall with kids books


(Before)toy boat and blue moon picture on dresser

In addition to this dresser, we have another one in their closet and the bunkbed also has drawers in the stairs. Desmond’s clothes are in Evangeline’s room for the time being. Storage will probably become more of an issue as the boys get older and bigger. But this works for us for now.

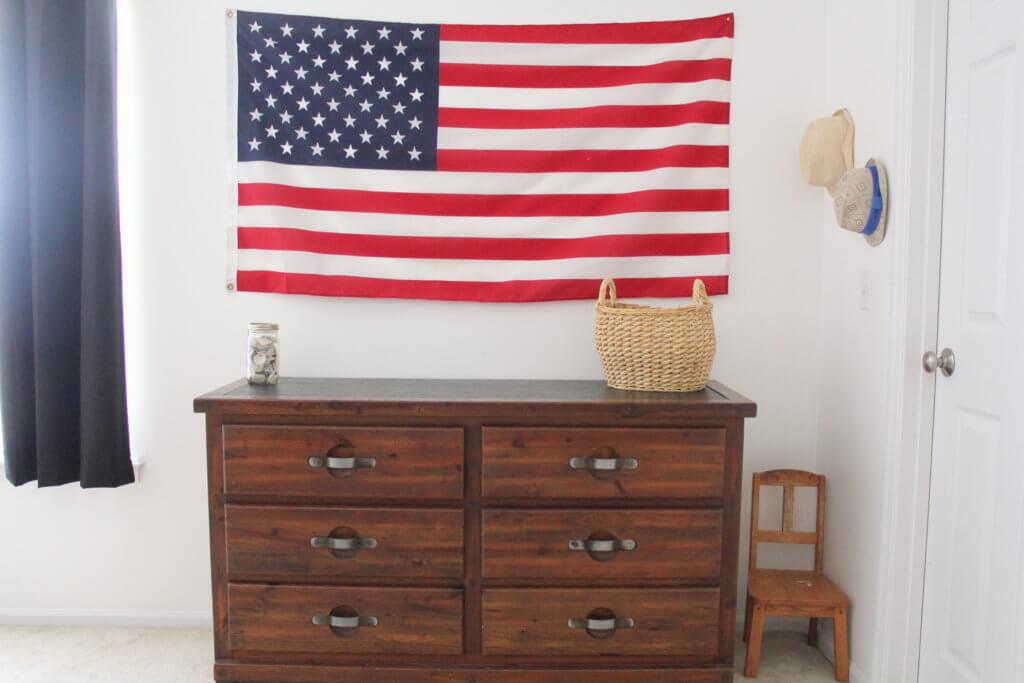
I had been wanting an American flag to hang above their dresser. And amazingly, at the same time as I was looking for a free one, someone at church was getting rid of one! Liam is especially obsessed with the American flag, so I loved being able to fit this into their room design.

(after)american flag on the wall


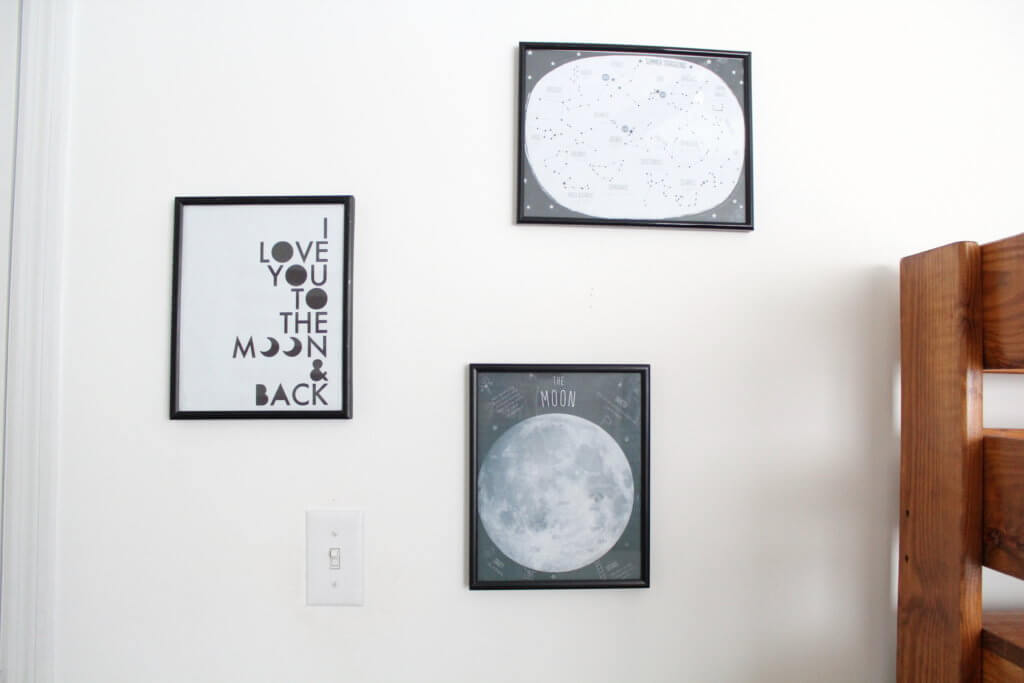
I want to hang something on that wall, above their bed. But I’m still searching for something. These 3 prints were free printables that I found on Pinterest and the frames were thrifted. 

3 pictures of the moon on the wall

And that wraps up the boys’ room tour! Even though there are still changes to be made, I love that we were able to update their room without spending much money. Besides the bedding, this update cost us probably $30 or less. I think I covered just about everything but if you have any questions, be sure to leave them in the comments!

In the next couple of days, I’ll post Evangeline’s room! Hope you’re having a good week!